 UK
UK
 USA
USA Canada
 Australia
 New Zealand
 EU
EU Japan
Japan Singapore
 UAE
UAE India
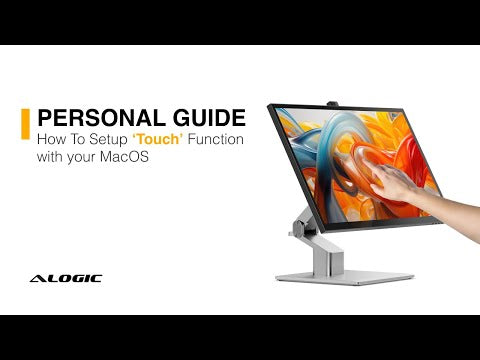
IndiaClarity Max Touch 32" UHD 4K Monitor with USB-C Power Delivery, Webcam and Touch Screen


Couldn't load pickup availability
Specifications
Specifications
Downloads
Downloads
"The touchscreen functionality is highly customisable on a per-app basis, which is fantastic"
"Clarity Max - New slate of Apple-friendly monitors includes a Mac-compatible touchscreen"
"The world’s first 32-inch glossy display touchscreen for Mac"
"Colorful, rich, and bright — it’s a monster of a display that will wow you for a fraction of the price of many of its competitors"

The technology behind our Clarity monitors hasn’t lost any of its
lustre in
the transition to a bigger screen. They remain a studio-grade tool for creatives
professionals
who rely on accurate colours to work.
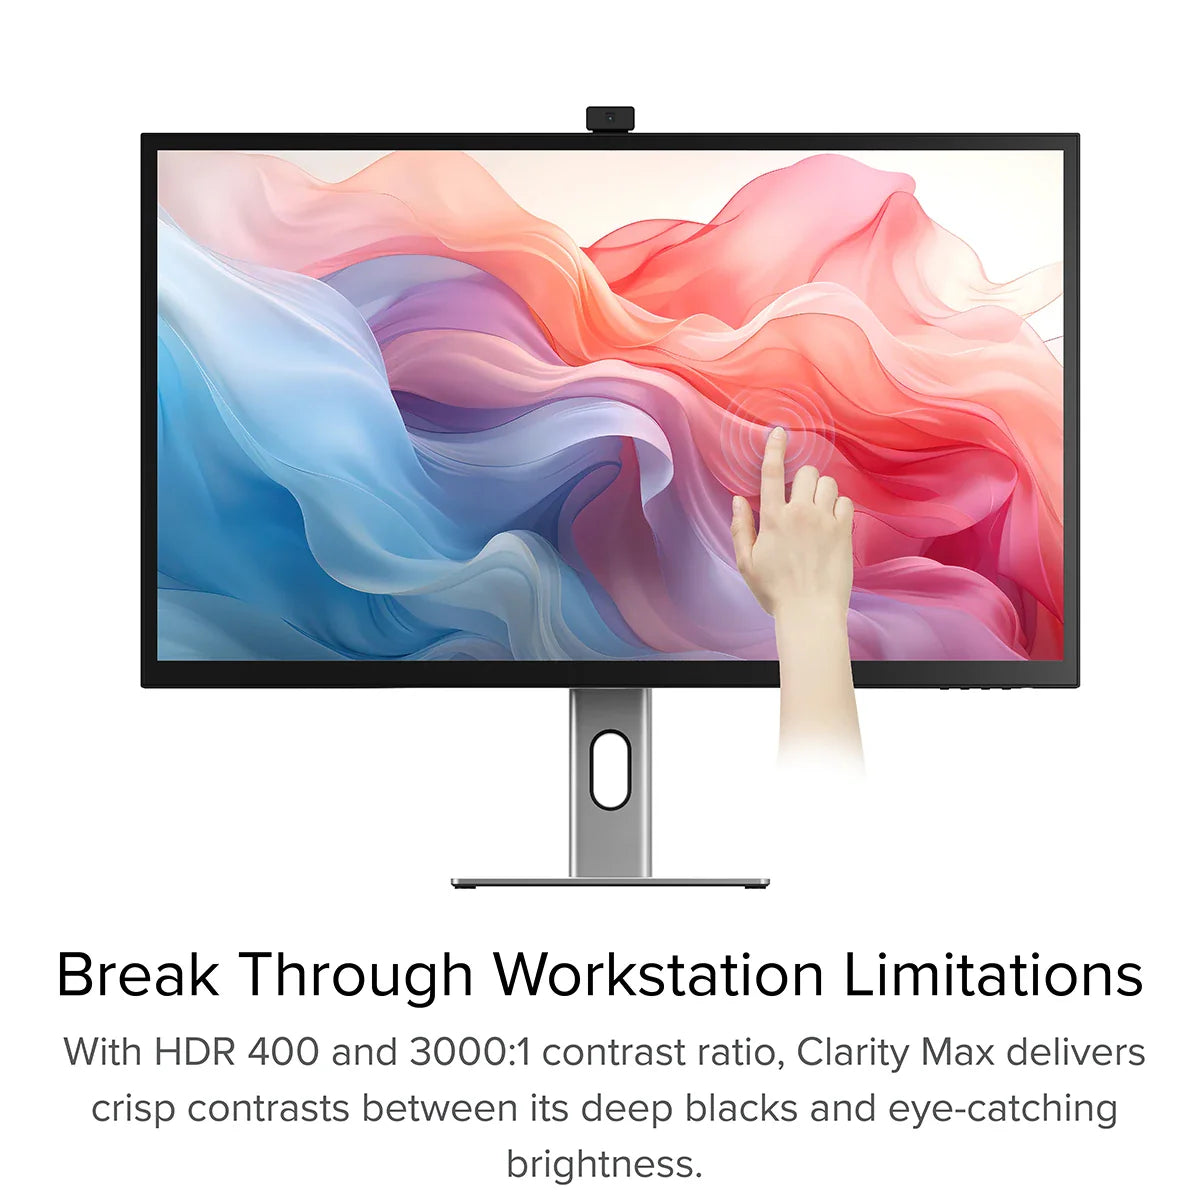
With HDR400 support and a 3000:1 contrast ratio, Clarity Max delivers crisp contrasts
between
its deep blacks and eye-catching brightness. Offering more than 16 million colours
across
their
4K Ultra High Resolution display, Clarity Max monitors are the perfect place to realise
your
next
masterpiece.


With 32” of 4K touchscreen, Clarity Max Touch delivers a desktop
navigation
experience unlike any other.
Pinch, swipe and sketch away on a screen almost three times the
size of the average iPad™, using your fingers or our pressure sensitive Active Surface Stylus
(sold separately). Transform Clarity Max Touch into a unique 32” drawing tablet with
in
seconds
with the Clarity Fold Stand
(sold
separately).
Touch isn’t just an intuitive way to navigate
your computer: it’s fun, freeform and spontaneous, helping you get creative on your next
project.
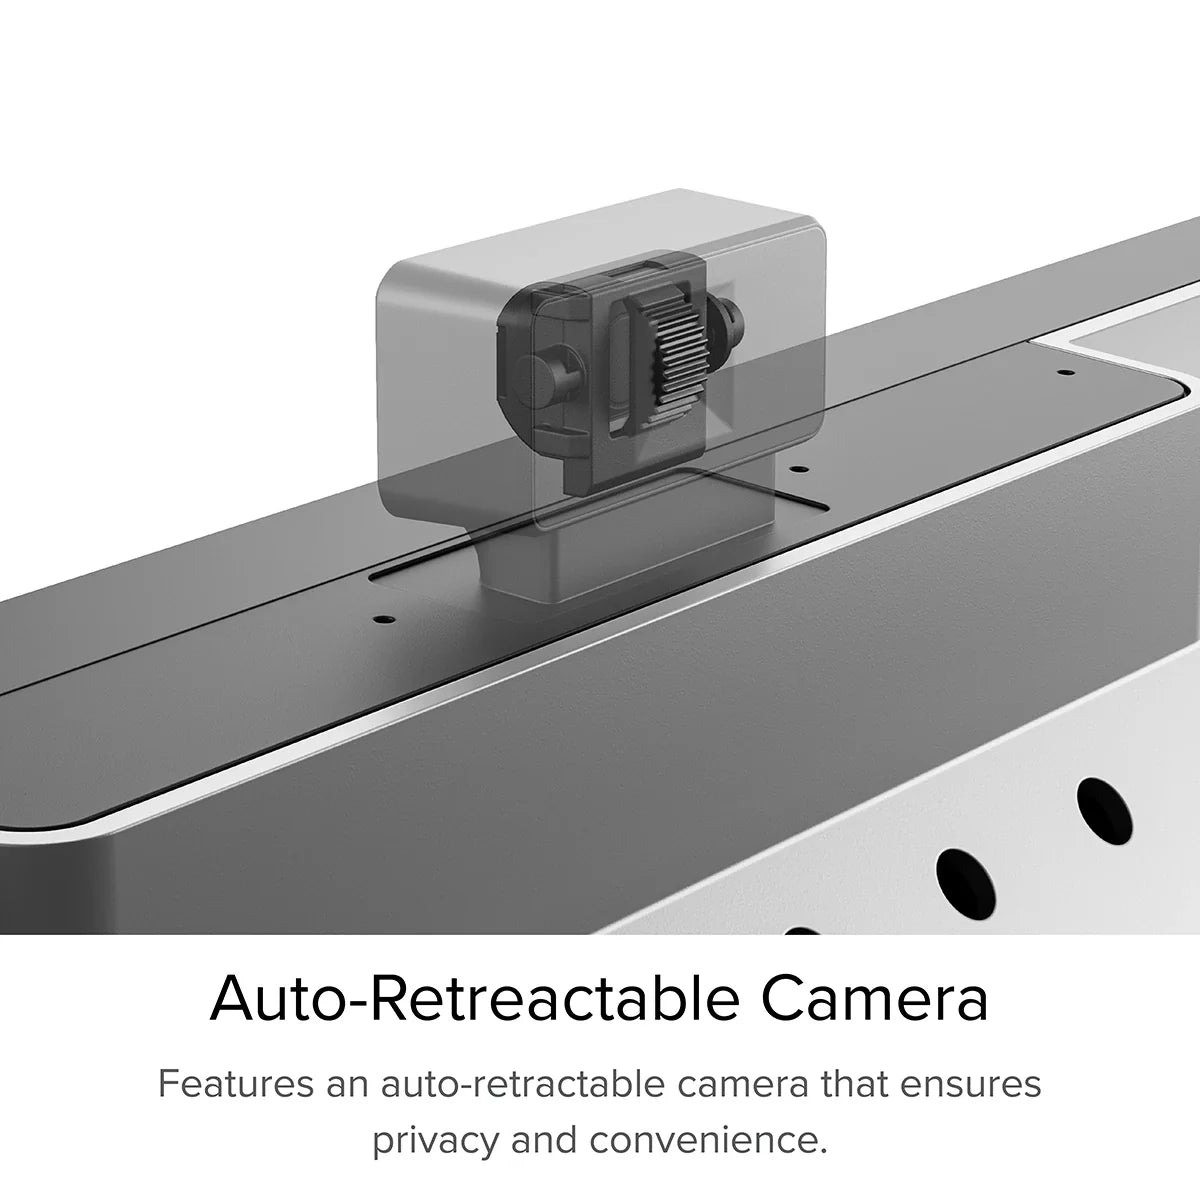
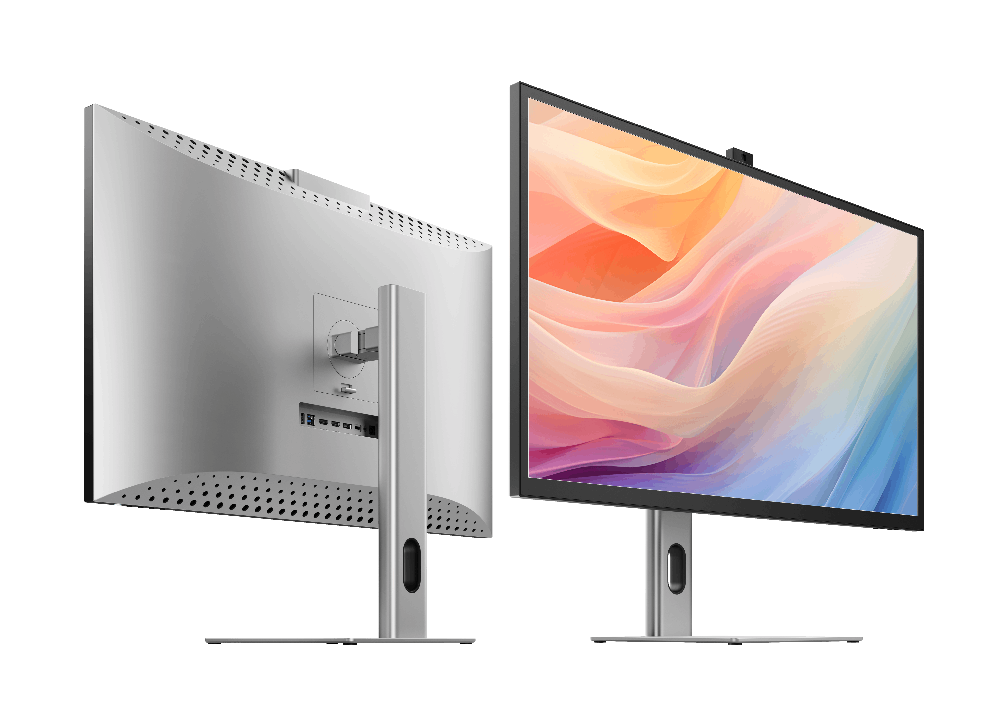
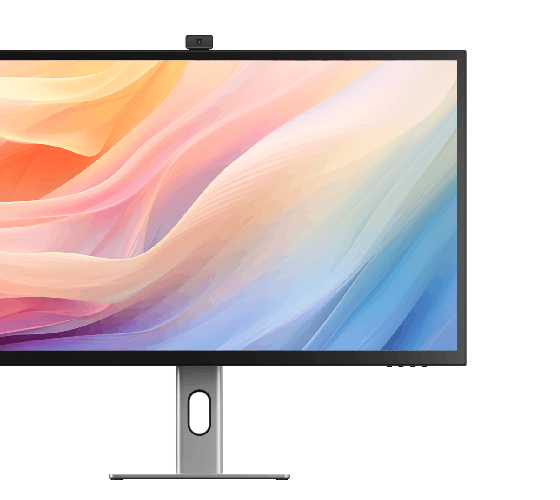
Put your best foot forward with the crystal-clear picture of Clarity Max Pro or Touch’s 8MP retractable webcam. The smart webcam automatically slides back into the monitor when it’s not in use, preventing you from sharing anything you didn’t mean to.
Quick and easy shortcuts, like swiping Clarity’s lower right corner with two fingers to access its touch menu, can completely change the way your navigate your favourite apps.
With our Clarity Touch drivers for macOS, it’s fast and easy to
configure
new touch controls for your favourite apps, letting you do more without reaching for your
keyboard shortcuts.
For example, you could set “Swipe Up with Two Fingers” to
add a
new MIDI
Track in Ableton Live or create a new masking layer in Photoshop. With Clarity Touch, you’re
in
control.


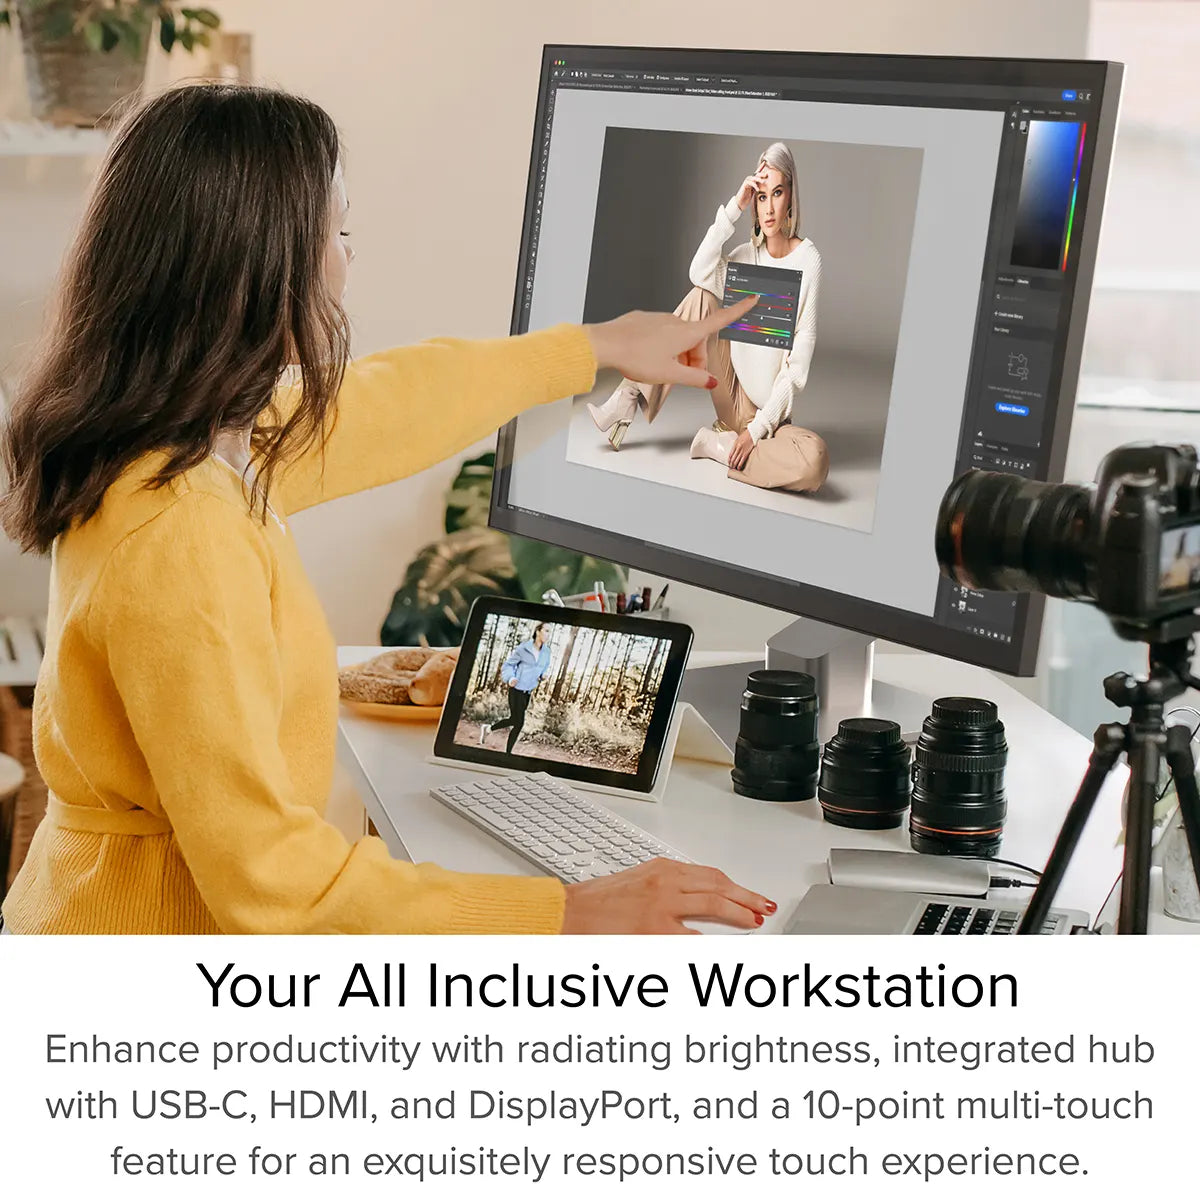
Sitting at the centre of your studio, Clarity Max Touch connects your
computer
to everything you need to compose your next piece.
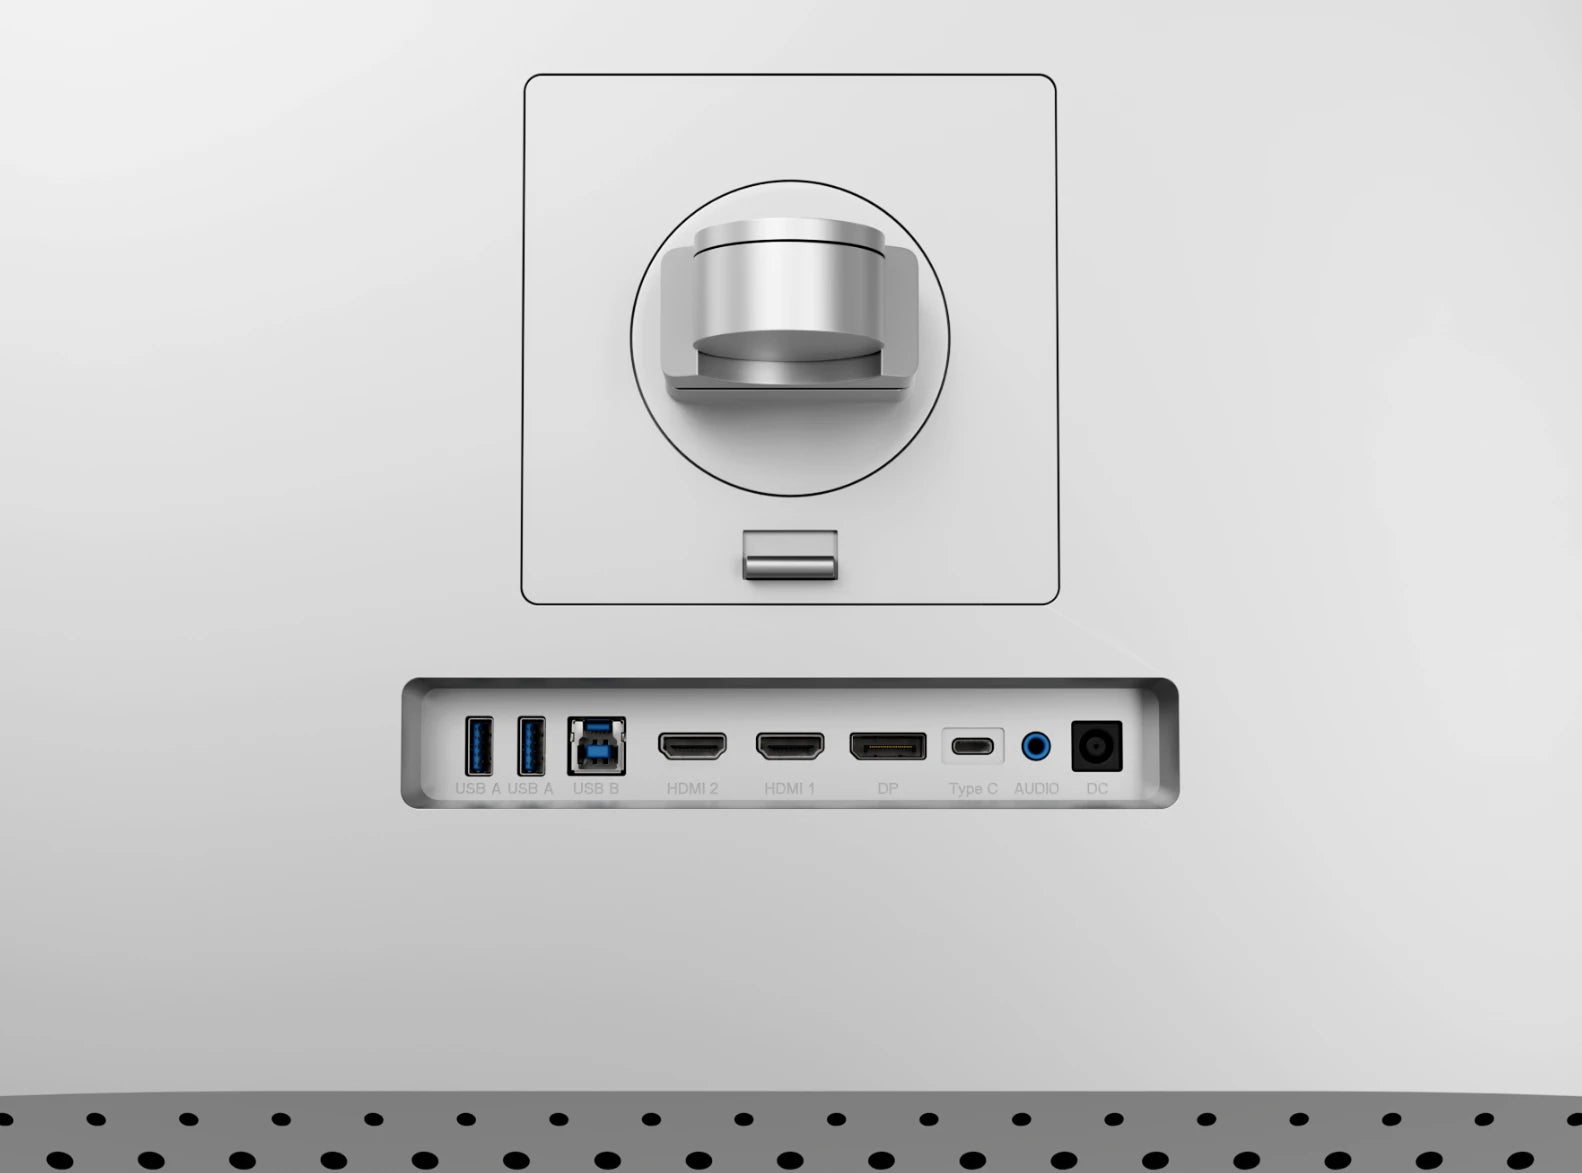
Its rear USB hub connects your computer to its webcam, touchscreen, two USB-A accessories, 65W
laptop charging and your 3.5mm speakers or headphone – all with the same USB-C cable you’re
using
for video.
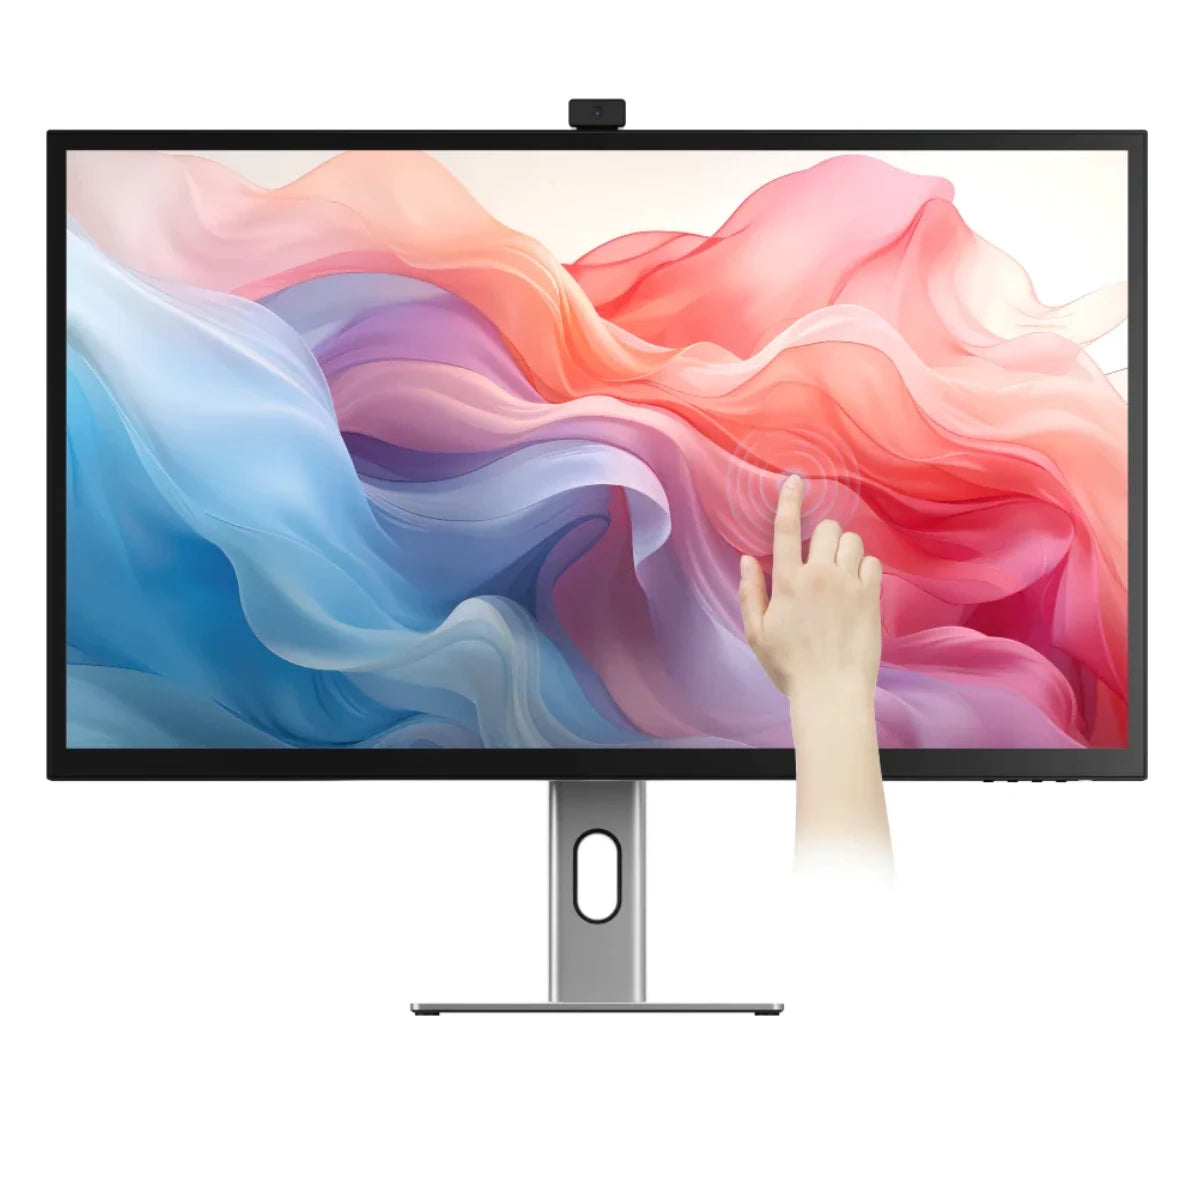
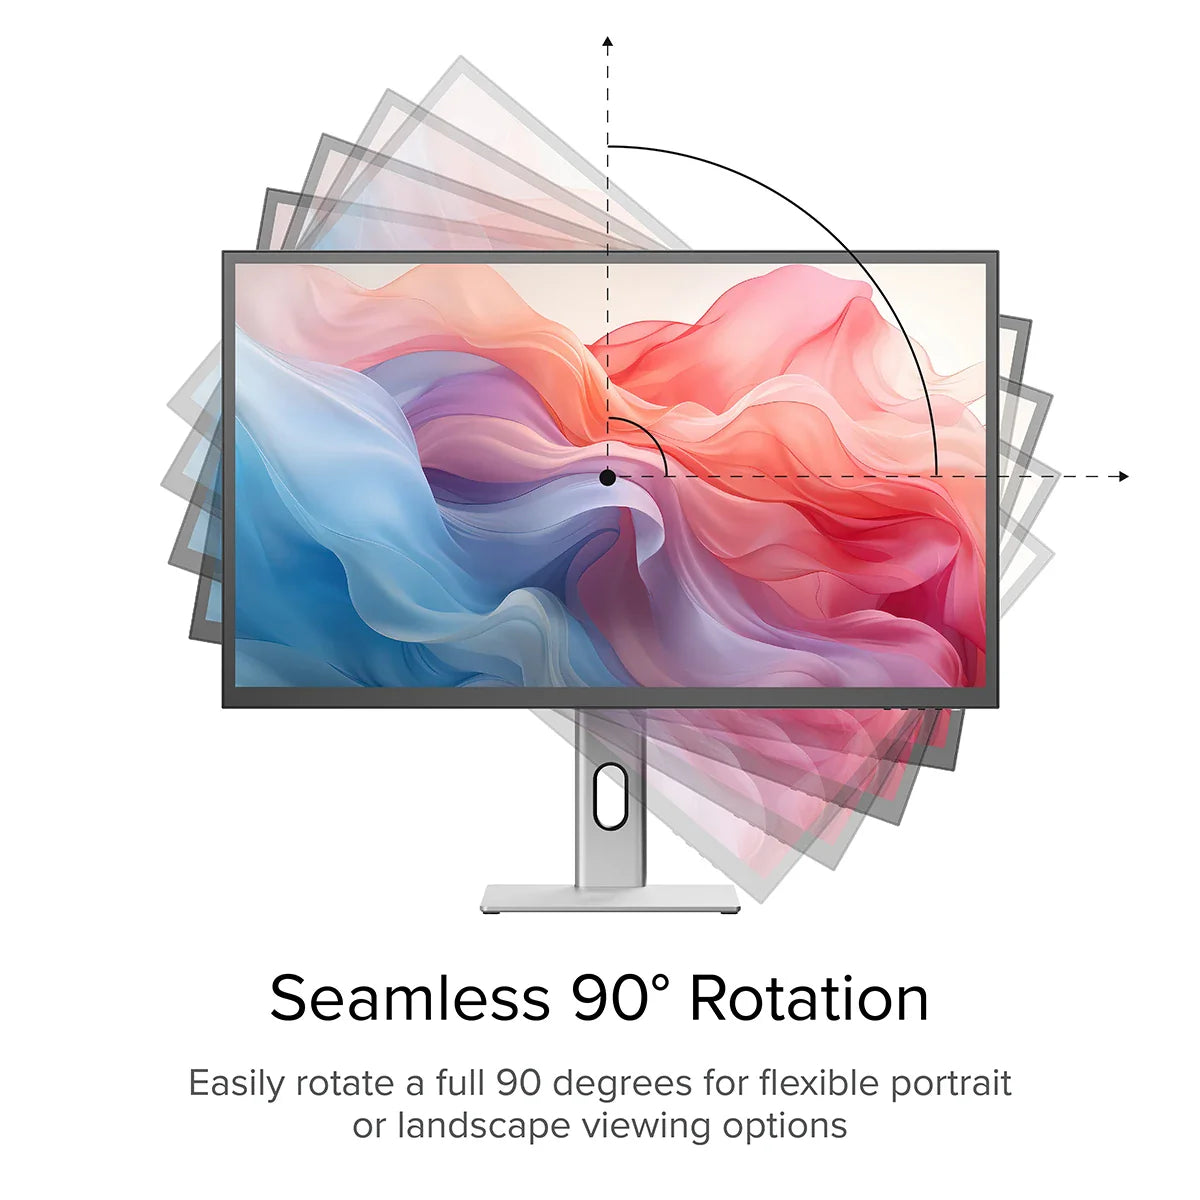
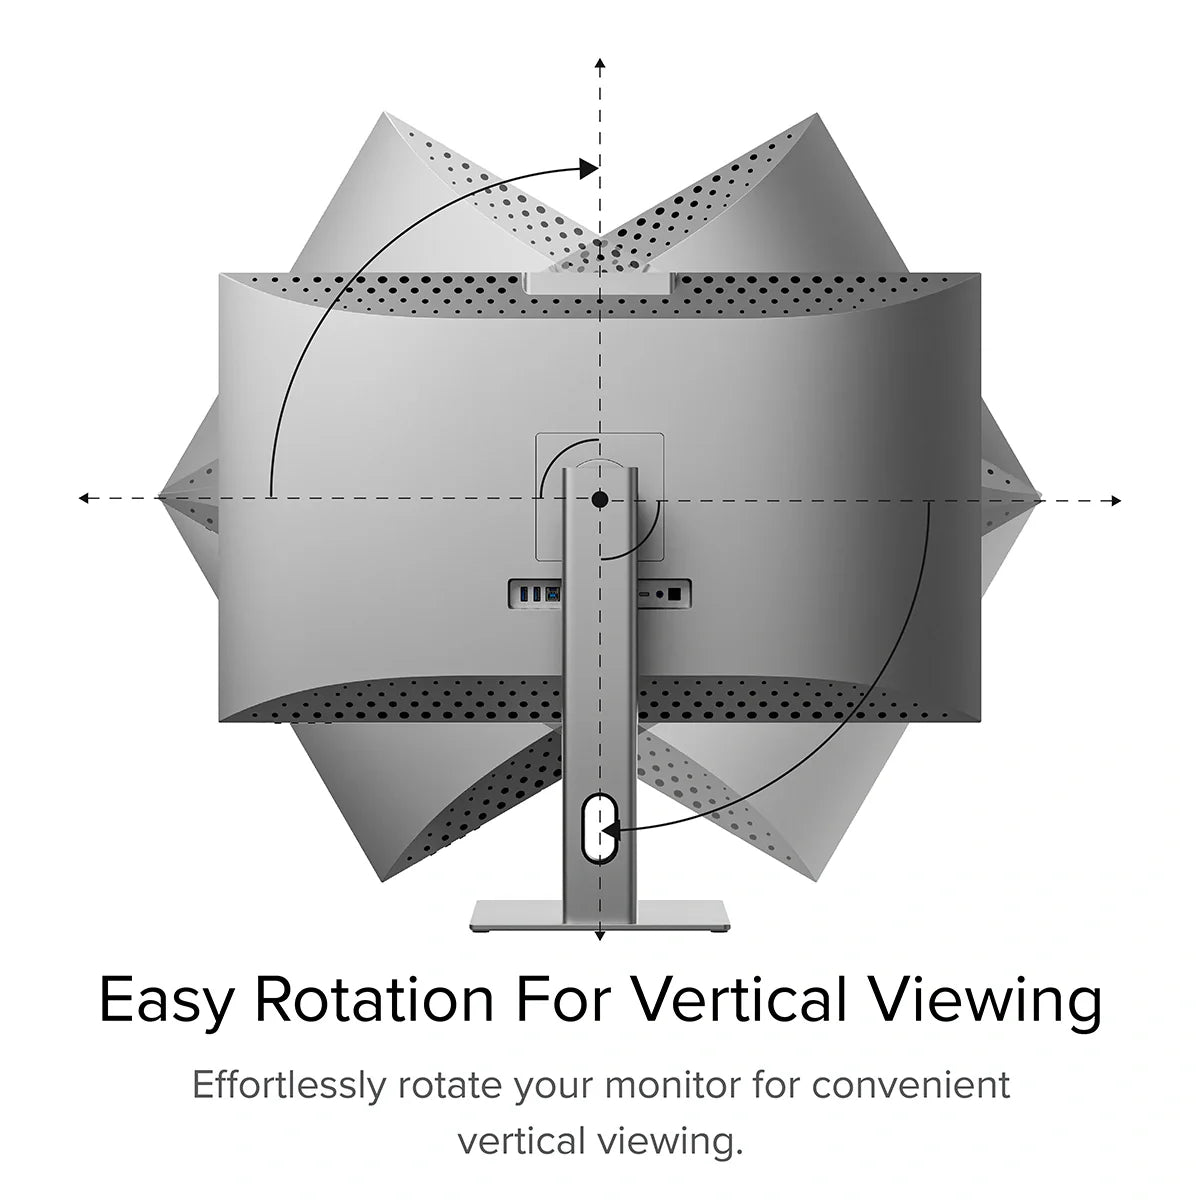
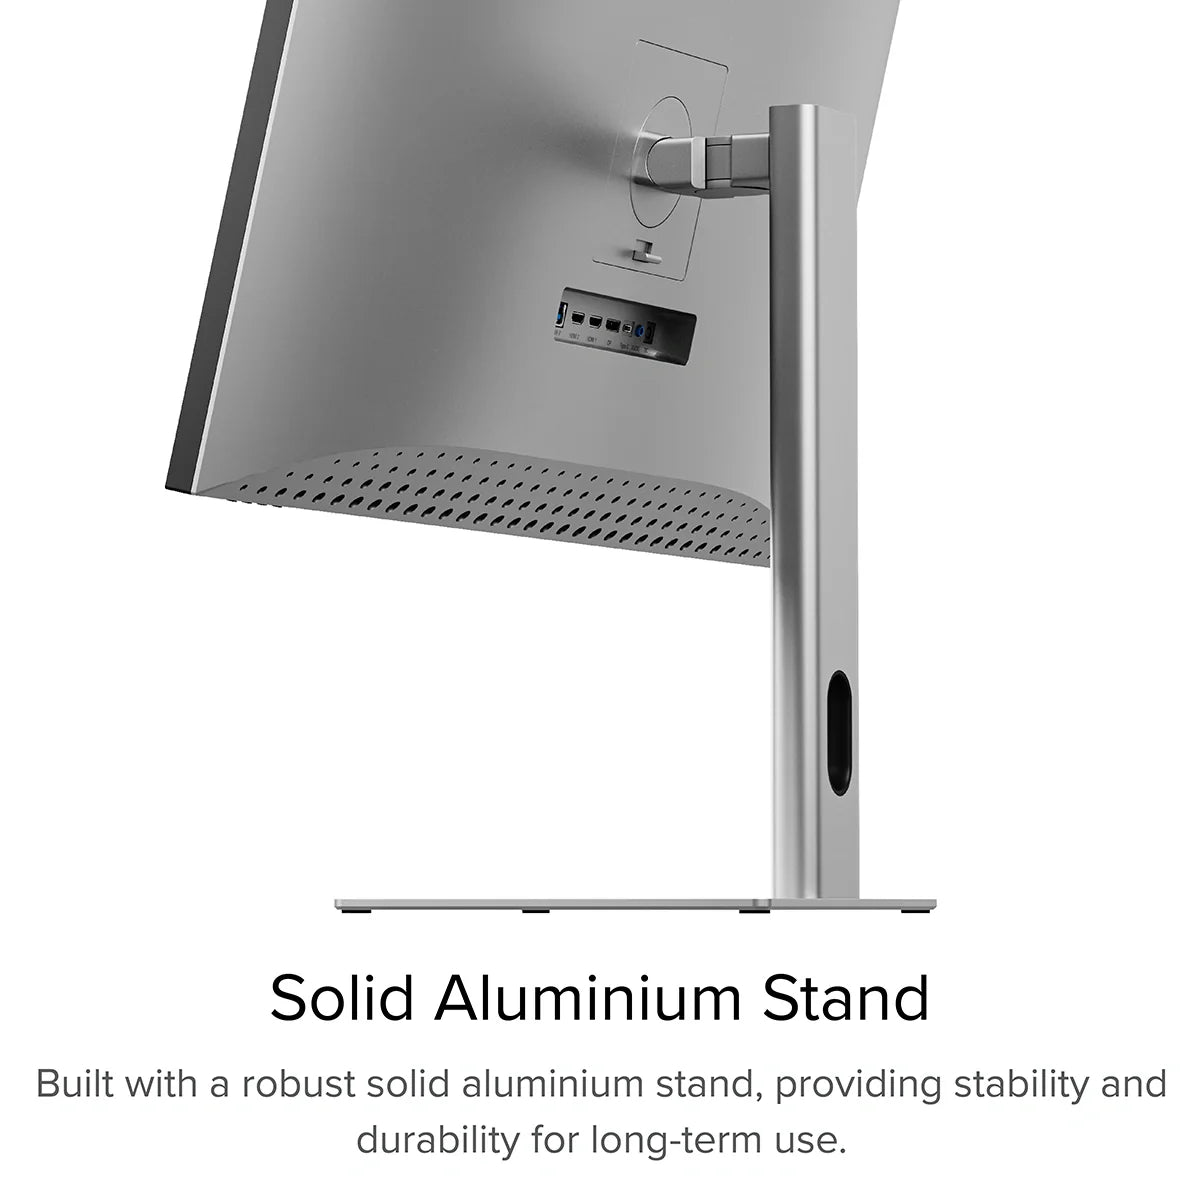
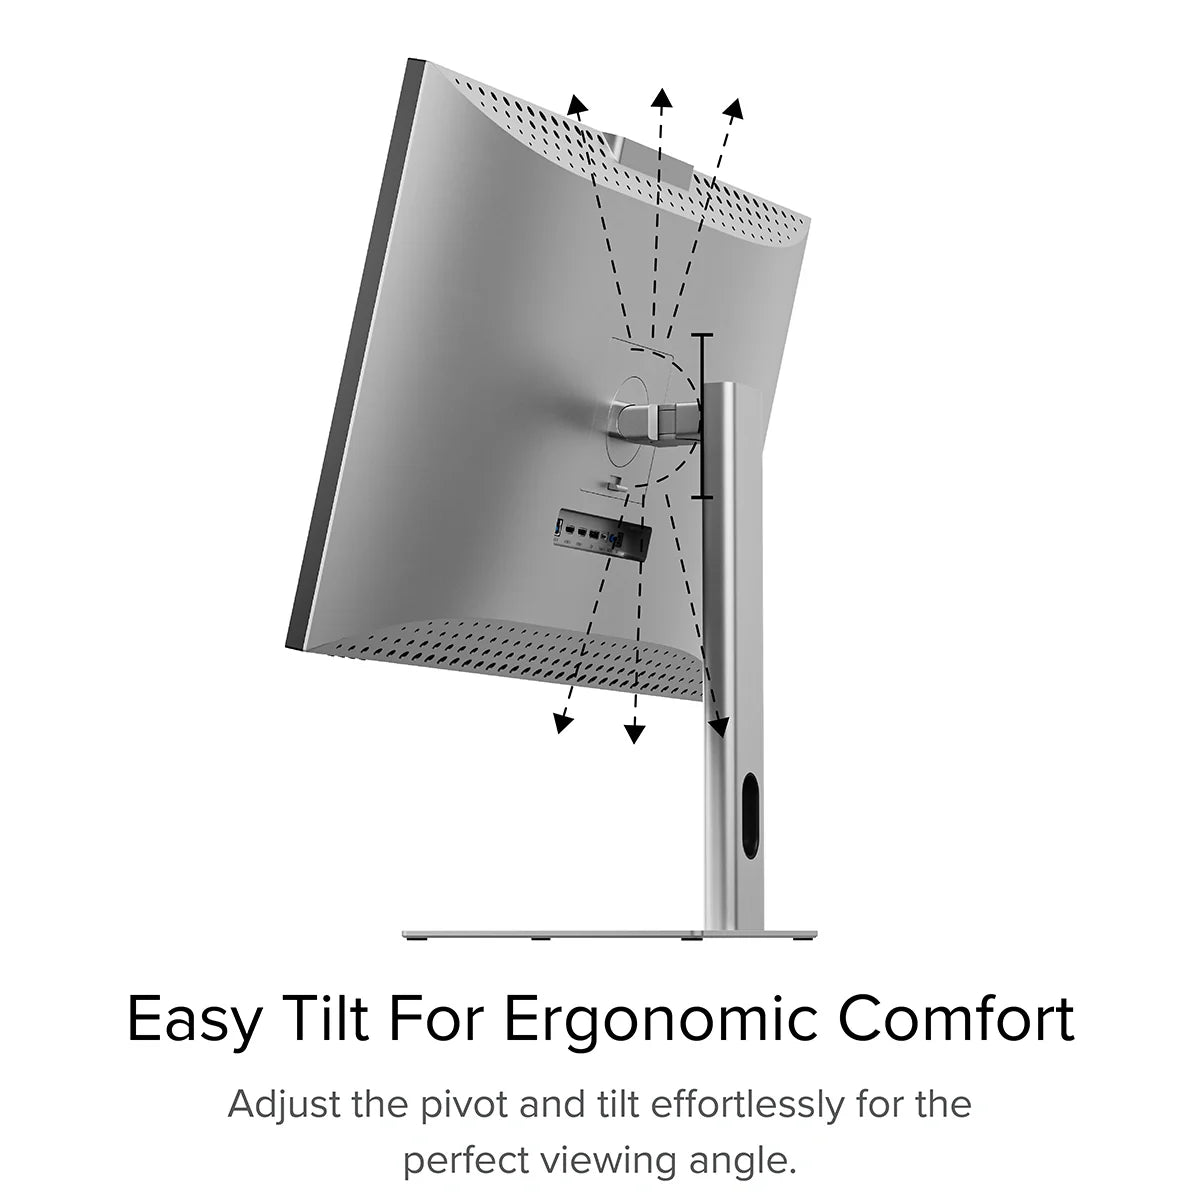
Our aluminium stand makes it easy to position Clarity Max exactly where
you
need it, letting you raise, pivot, tilt and swivel the display to fit your desk setup and
maximise
ergonomic comfort.
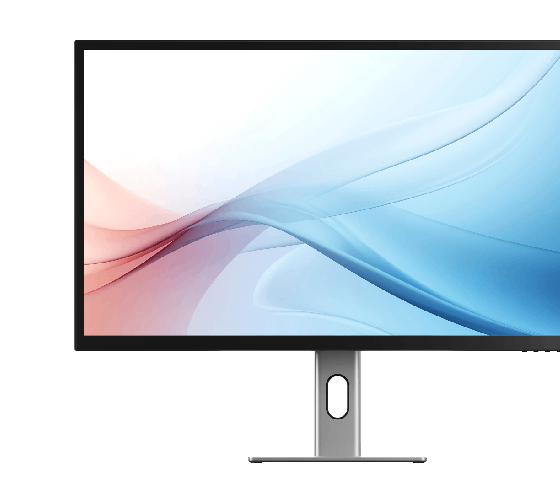
With Clarity Max, it’s easy to show off your latest design to colleagues, with wide 178°
viewing
angles across its broad 32” screen.
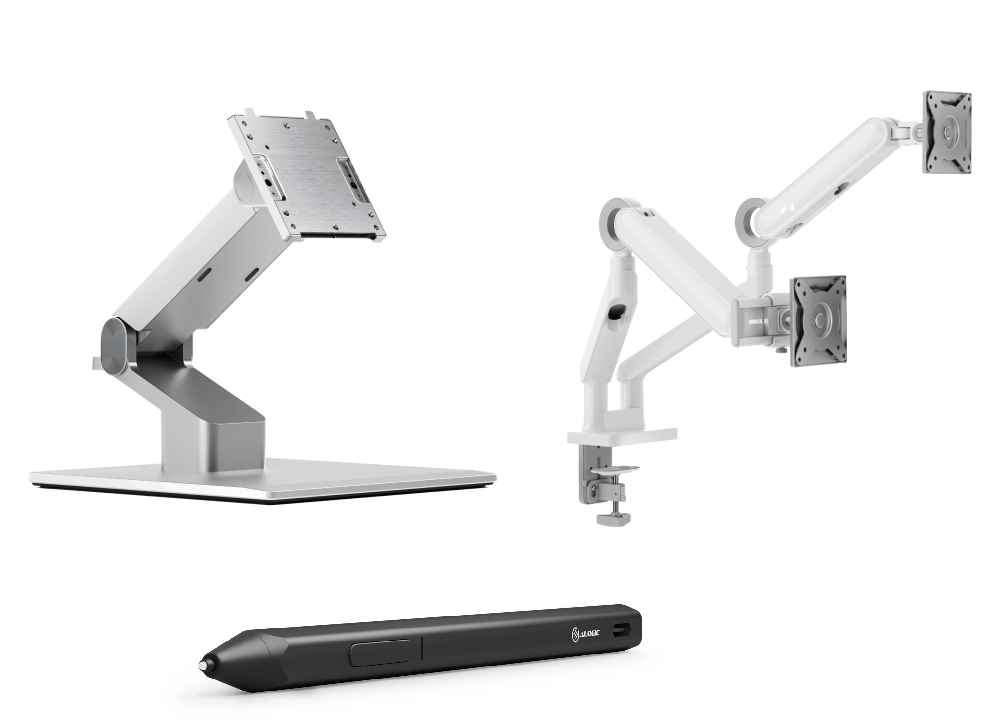
Compatible with 100x100mm VESA Mounts (such as our Clarity Fold Stand and Glide Monitor Arms),
Clarity Max is an easy inclusion in any setup, despite its size.


General


As a larger monitor, it’s important to check your monitor stand will support Clarity Max to avoid damaging your monitor.
Clarity Max is 32”, weighs 6.5kg without the stand and measures 725*250*606mm (LxDxH).
1. Connected to Clarity via either:Clarity's USB-C port or Clarity's USB-B port
2. Clarity "Active USB" mode is set to the same USB port you've connected to your computer.
To change Clarity's "Active USB" mode, navigate to "USB Switch" in the "Other Settings" menu of Clarity's main menu.
For example: if your computer is connected to Clarity via USB-C, you would select "Type-C" in the "USB Switch" menu.
However, it does need to plug into a USB-C port compatible with PD (Power Delivery) on your computer.
These can sometimes be identified by the presence of a battery icon next to the port on your laptop, but often you’ll need to check the user manual or manufacturer’s website to figure out which USB-C ports support PD.
All Thunderbolt 3 and 4 ports support PD.
In order to get multitouch working on macOS, you’ll need to install our macOS drivers.
Clarity’s Webcam hasn’t been tested with legacy versions of Windows and macOS.
1. Ensure the monitor is at its maximum height on the stand.
2. Tilt the monitor as far as it can go by pulling its bottom edge towards you.
You can then slowly rotate the monitor without the corner hitting the desk.
Clarity Max’s screen won’t automatically rotate after you move the monitor. To rotate the picture, follow these steps:
Mac
1. Open System Settings -> Displays.
2. Click on your Clarity Max and change ‘Rotation’ to 90° or 270°, depending on which way you turned it.
Windows
1. Open Settings -> System - > Display.
2. Click on Clarity Max, and under the ‘Scale & layout’ menu, switch ‘Display Orientation’ to Portrait or Portrait Flipped, depending on which way you turned it.
Touchscreen
Moving your mouse onto Clarity before using the touchscreen usually resolves this issue.
Solution - Windows If you’re using Windows 10 or 11 with multiple displays you can specify which monitor you want touch input to apply to, which saves you having to mouse over to that display before using touch.
To do this, launch Control Panel, click “Hardware and Sound” then ‘Calibrate the screen for pen or touch input’ from the menu.

Select “Setup”, choosing “Pen Input” if you’re using an active stylus or “Touch Input” if you’re using your fingers or a capacitive stylus, then follow the onscreen instructions.

If completing this process doesn’t resolve your issue, try setting up for the other kind of input.
Display
The stats listed below are the average colour accuracy for Clarity Max, although be aware that each panel’s colour
Although each monitor is varies slightly, below are the average colour accuracy stats for Clarity Max.
Clarity Max:
- Gamut Coverage (NTSC): 91%
- Gamut Coverage (DCI-P3): 96%
- Gamut Coverage (SRGB): 99.9%
- Gamut Coverage (Adobe RGB): 97%
- Gamut Coverage (BT2020 CIE1976): 77%
- Average ΔE: <1
Clarity Max Pro and Clarity Max Touch:
- Gamut Coverage (NTSC): 95%
- Gamut Coverage (DCI-P3): 102%
- Gamut Coverage (SRGB): 98%
- Gamut Coverage (Adobe RGB): 110%
- Gamut Coverage (BT2020 CIE1976): 76%
- Average ΔE: <1
If you wish to further calibrate your monitor, you will need to use a third-part calibration tool, such as a Calibrite/Sypder.
Troubleshooting
To resolve the issue, restart Clarity by pressing the power button twice – it should recognize the connected device as part of its boot-up sequence.
If this issue persists, we recommend trying the following steps to isolate the issue:
Connect Clarity directly to your computer
Try connecting with a different cable or port.
ie. Use DisplayPort instead of USB-C
Update your computer’s operating system.
If your problem reoccurs and these these steps do not help resolve it, please contact ALOGIC support (support@alogic.co).
Webcam
As a result, the webcam will work with any program attempting to access a webcam.
This includes videoconfering programs such as:
Microsoft Teams
Skype
Google Meet
Slack
Cisco Webex
Zoom
GoTo Meeting
As well as livestreaming programs like:
Open Broadcaster Software (OBS)
Xplit
Streamlabs
Open a program which requires the webcam – on Windows 11 we recommend the “Camera” app or “Photo Booth” on macOS.
Open this application and switch the active camera to Clarity Pro’s – this can be done via the “Camera” menu in Photo Booth or hitting the “Switch Camera” button in Camera – see below.
Once you’ve activated Clarity Pro’s webcam, it will slide up out of the monitor. You can now adjust its vertical framing using the scroll wheel on the rear of the camera.